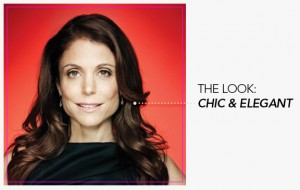
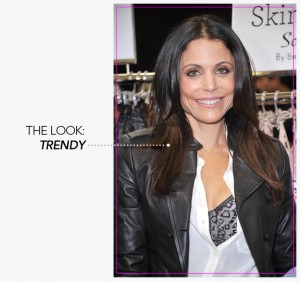
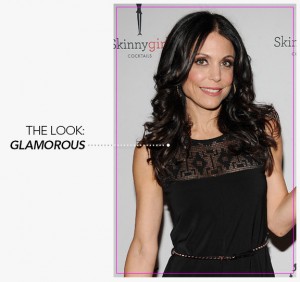
Planning a wedding is stressful enough; the last thing you need is a bad hair decision sabotaging your special day — one that will be documented for eternity. Do you go with an accessorized updo, a braided twist, or loose and luxurious curls? There are so many choices, but it needn’t be overwhelming if you follow my top ten tips for preparing for your hair trial and wedding day. I’m sharing this over at bethenny.com too — everybody deserves beautiful hair on their wedding day!
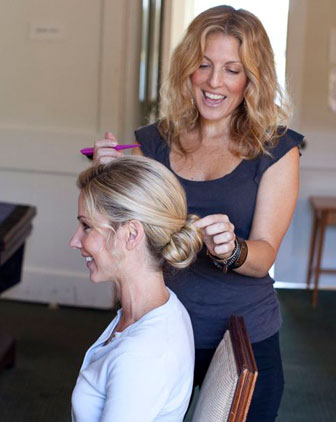
1. Show and tell.
On the day of your hair trial, bring anything you think will help your stylist understand the looks you love or the style of your wedding. Have a friend take a photo of you in your dress at a fitting. Bring a swatch of fabric if you think that will help. Bring pictures of brides, celebrities, models — anyone whose look inspires you.
2. Enhance your unique beauty.
When you’re finding pictures to show your stylist, try to find ones that don’t stray too far from your own look and style. If you are the kind of girl who loves having her hair down and flowing, maybe you don’t want to go for a sleek updo — and vice versa. I think it’s best to go with the look you normally go for when you dress up for an occasion, and then glam it up a notch for your wedding day.
3. Be open.
Your hair trial gives you the chance to live with a look and discover whether you feel comfortable with it. If your hair artist suggests looks that you hadn’t considered before, don’t feel pressured to follow their advice, but while you have their expertise at your fingertips, you may as well give it your consideration.
4. Accessorize.
There are so many great hair accessories available now to add a gorgeous accent to your wedding hair. It will depend on the look you’re going for. For a more classical look, you might want to wear a Swarovski crystal brooch. Jeweled barrettes can be great. Some of my favorites at the moment are bird-cage veils, feathers, and unstructured fabric flowers, which go beautifully with more flowing, playful gowns.
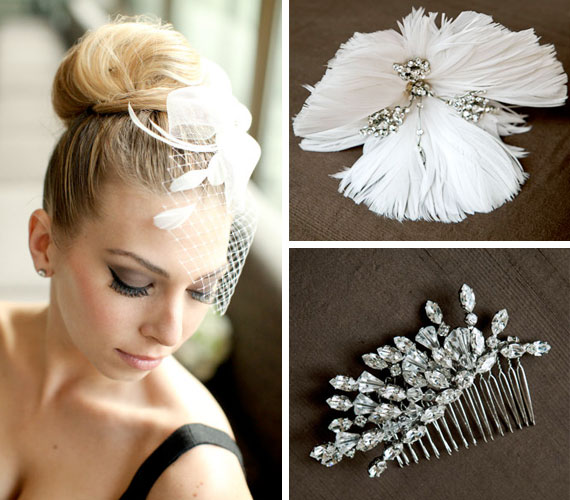
5. Extend yourself.
Don’t shy away from having hair extensions for your wedding day; it’s way less of a drama than it may sound. And no one needs to know — it can be our secret! Extensions are great if you want a little more length or fullness, or if you or your artist is worried about your hair holding a particular style all through your wedding day. Even if your own hair falls, the extensions won’t.
6. Keep having regular haircuts.
At your trial, your artist can give you guidance on whether you need to grow your hair. If your hair is very long or unlayered, it can be difficult to manage and style, limiting the looks your artist can show you at your trial. Because Once Upon a Bride is based at my full-service salon Loft 26, we can take care of your hair right up until your wedding day.
7. Don’t get your hair cut just before the wedding!
It’s better to be safe than sorry, so avoid having a cut too close to your wedding. Especially avoid a radical change of style.
8. Look after those locks.
Pay special attention to hair care in the weeks before your trial and wedding, so that your hair is shiny and healthy. If you’re unsure of the best products for your hair type, consult with your stylist.
9. Be product-free on the day.
On your trial day and wedding day, have clean, dry hair. Avoid using a lot of conditioner that morning, especially a leave-in one. Stay away from silkening products that weigh your hair down and make it slippery to work with.
10. Be flexible.
Say it rains or a wind suddenly springs up on your wedding day, and that down style you had your heart set on just isn’t working. Don’t worry — last-minute changes can be okay, so long as you and your artist are prepared. When you come in to Once Upon a Bride for a trial, your artist will show you a couple of styles and variations so that you have options on the day.


